Visual Studio Code
Visual Studio Code (VS Code) is an open source source-code editor from Microsoft1. It has become one of the most popular IDEs2. The functionality of VS Code can easily be extended by installing extensions. These extensions allow for almost arbitrary language support, debugging or remote development. You can install VS Code locally on Windows, macOS and Linux.

Source: https://code.visualstudio.com/
VS Code: Remote - SSH
In order to remotely develop and debug code at KIT's HPC facilities, you can use the Remote - SSH extension3. The extension allows you to connect your locally installed VS Code with the remote servers. So in contrast to using graphical IDEs within a remote desktop session (RDP, VNC), there are no negative effects like e.g. laggy reactions to your input or blurred display of fonts.
Installation and configuration
 In order to install the Remote - SSH extension, just click on the Extensions (Erweiterungen) button in the left side bar and enter "remote ssh" in the search field. Choose Remote - SSH from the occurring list and click on Install.
 In order to configure remote connections, open the Remote-Explorer extension. On Linux Systems, the file
 ~/.ssh/config is automatically evaluated. The targets within this file already appear in the left side bar.
 If there are no remote ssh targets defined within this file, you can easily add one by clicking on the + symbol. Make sure that "SSH Targets" is active in the drop down menu of the Remote-Explorer. Enter the connection details
 <user>@<server>. You will be asked, whether the file ~/.ssh/config should be modified or if another config file should be used or created.
Connect to login nodes
In order to connect to a remote SSH target, open the Remote-Explorer. Right-click a target and connect in the current or a new window. TOTP and password can be entered in the corresponding input fields that open.
You are now logged in on the remote server. As usual, you can open a project directory with the standard key binding Ctrl+K Ctrl+O. You can now edit and debug code.
Attention
Please remember that you are running and debugging the code on a login node. Do not perform resource-intensive tasks. Furthermore, no GPU resources are available to you.
Extensions, which are installed locally, are only usable on your local machine and are not automatically installed remotely. However, as soon as you open the Extensions-Explorer during a remote session, VS Code proposes to install the locally installed extensions remotely.
Disconnect from login nodes
 If you want to end your remote session, click the green box in the lower left corner. In the input box that opens, select the "Close Remote Connection" option. If you simply close your VS Code window, some server-side components of VS Code will continue to run remotely.
Access to compute nodes
The workflow described above does not allow debugging on compute nodes that have been requested via an interactive Slurm job, for example. The security settings prevent the login node from being used as a proxy jump host. So there is no way to connect your locally installed VS code to the compute nodes. Debugging GPU codes is therefore also not possible, since this kind of resource is only accessible within Slurm jobs.
code-server
The application code-server5 allows to run the server part of VS Code on any machine, it can be accessed in the web browser. This enables, for example, development and debugging on compute nodes.
Code-server is available via the Lmod-module devel/code-server
Source: https://github.com/cdr/code-server
Start code-server
Security implications
Please note that by starting code-server you are running a web server that can be accessed by everyone logged in on HoreKa/bwUniCluster.
- If password protection is disabled, anybody can access your account and your data.
- Chose a secure password!
- Do NOT use
code-server --link!
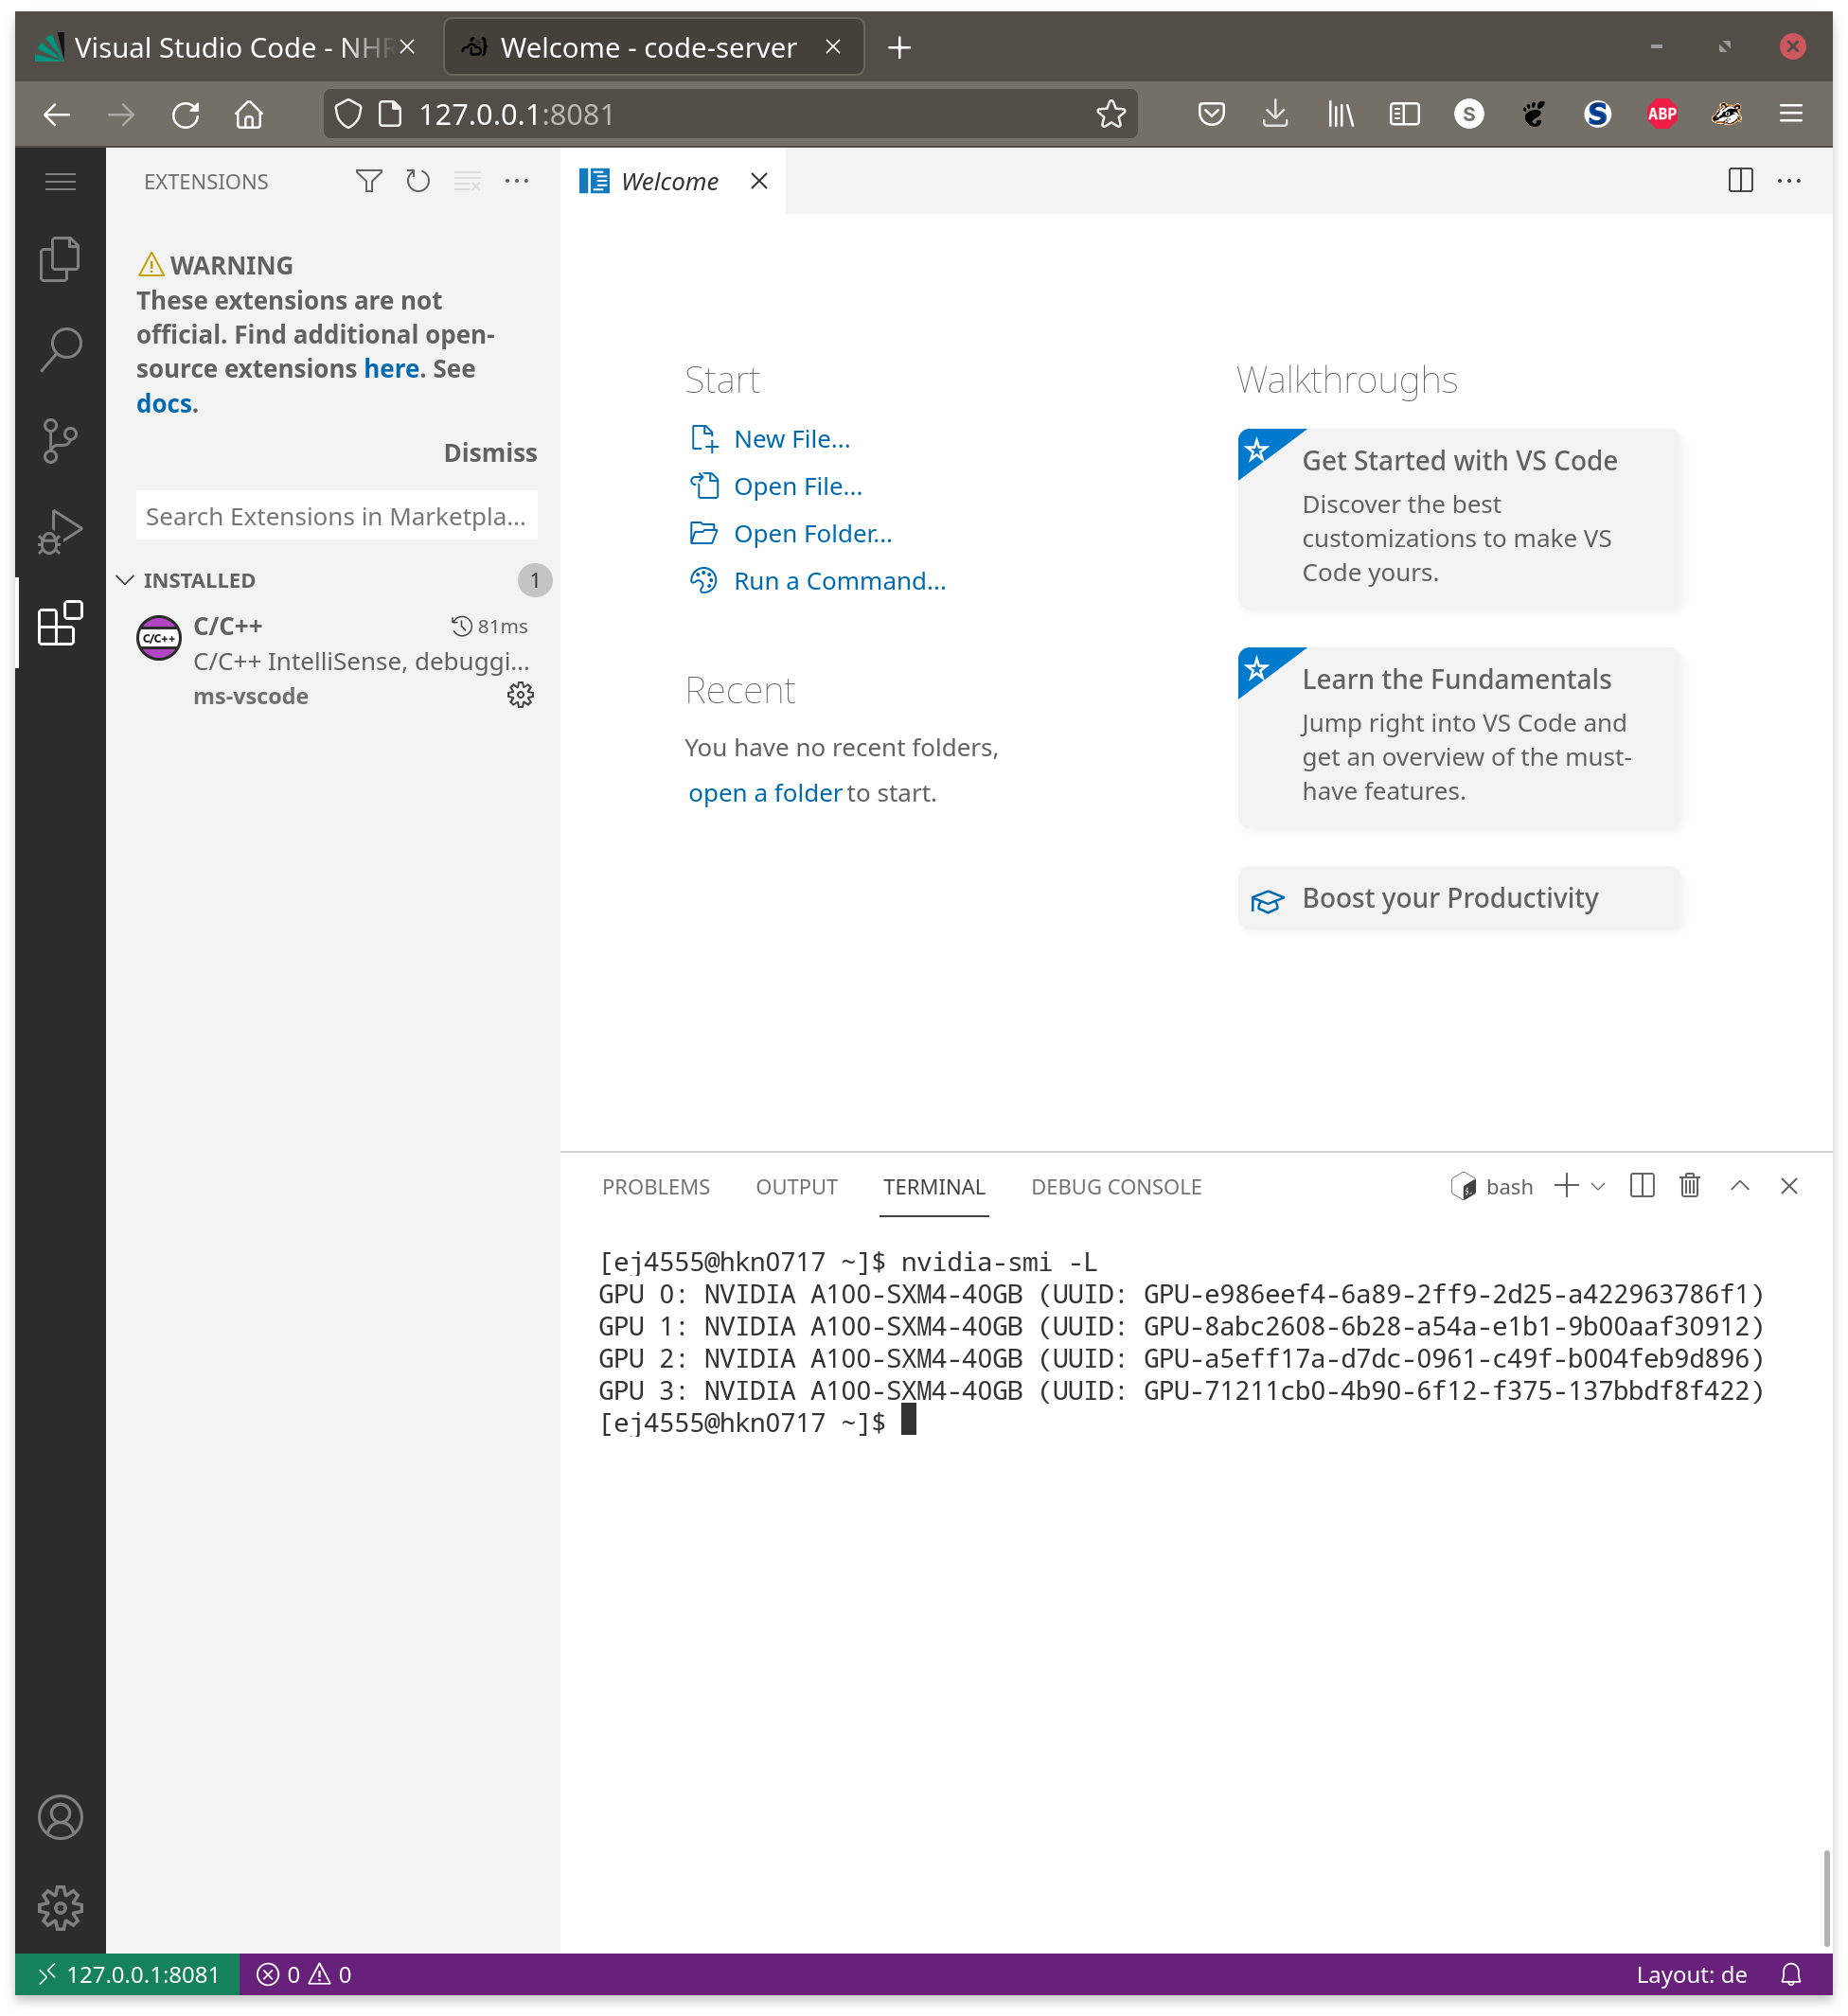
Code-server can be run on either login nodes or compute nodes. In the example shown, an interactive job is started on a GPU partition to run code-server there.
$ salloc -p accelerated --gres=gpu:4 --time=30:00 # Start interactive job with 1 GPU
$ module load devel/code-server                   # Load code-server module
When code-server is started, it opens a web server listening on a certain port. The user has to specify the port. It can be chosen freely in the unprivileged range (above 1024). If a port is already assigned, e.g. because several users choose the same port, another port must be chosen.
By starting code-server, you are running a web server that can be accessed by anyone logged in to HoreKa/bwUniCluster. To prevent other people from gaining access to your account and data, this web server is password protected. If no variable PASSWORD is defined, the password in the default config file ~/.config/code-server/config.yaml is used. If you want to define your own password, you can either change it in the config file or export the variable PASSWORD.
$ PASSWORD=<mySecret> \
    code-server }
      --bind-addr 0.0.0.0:8081 \
      --auth password  # Start code-server on port 8081
Connect to code-server
As soon as code-server is running, it can be accessed in the web browser. In order to establish the connection, a SSH tunnel from your local computer to the remote server has to be created via:
$ ssh -L 8081:<computeNodeID>:8081 <userID>@hk.scc.kit.edu
You need to enter the computeNodeID of the node on which the interactive Slurm job is running. If you have started code server on a login node, just enter localhost.
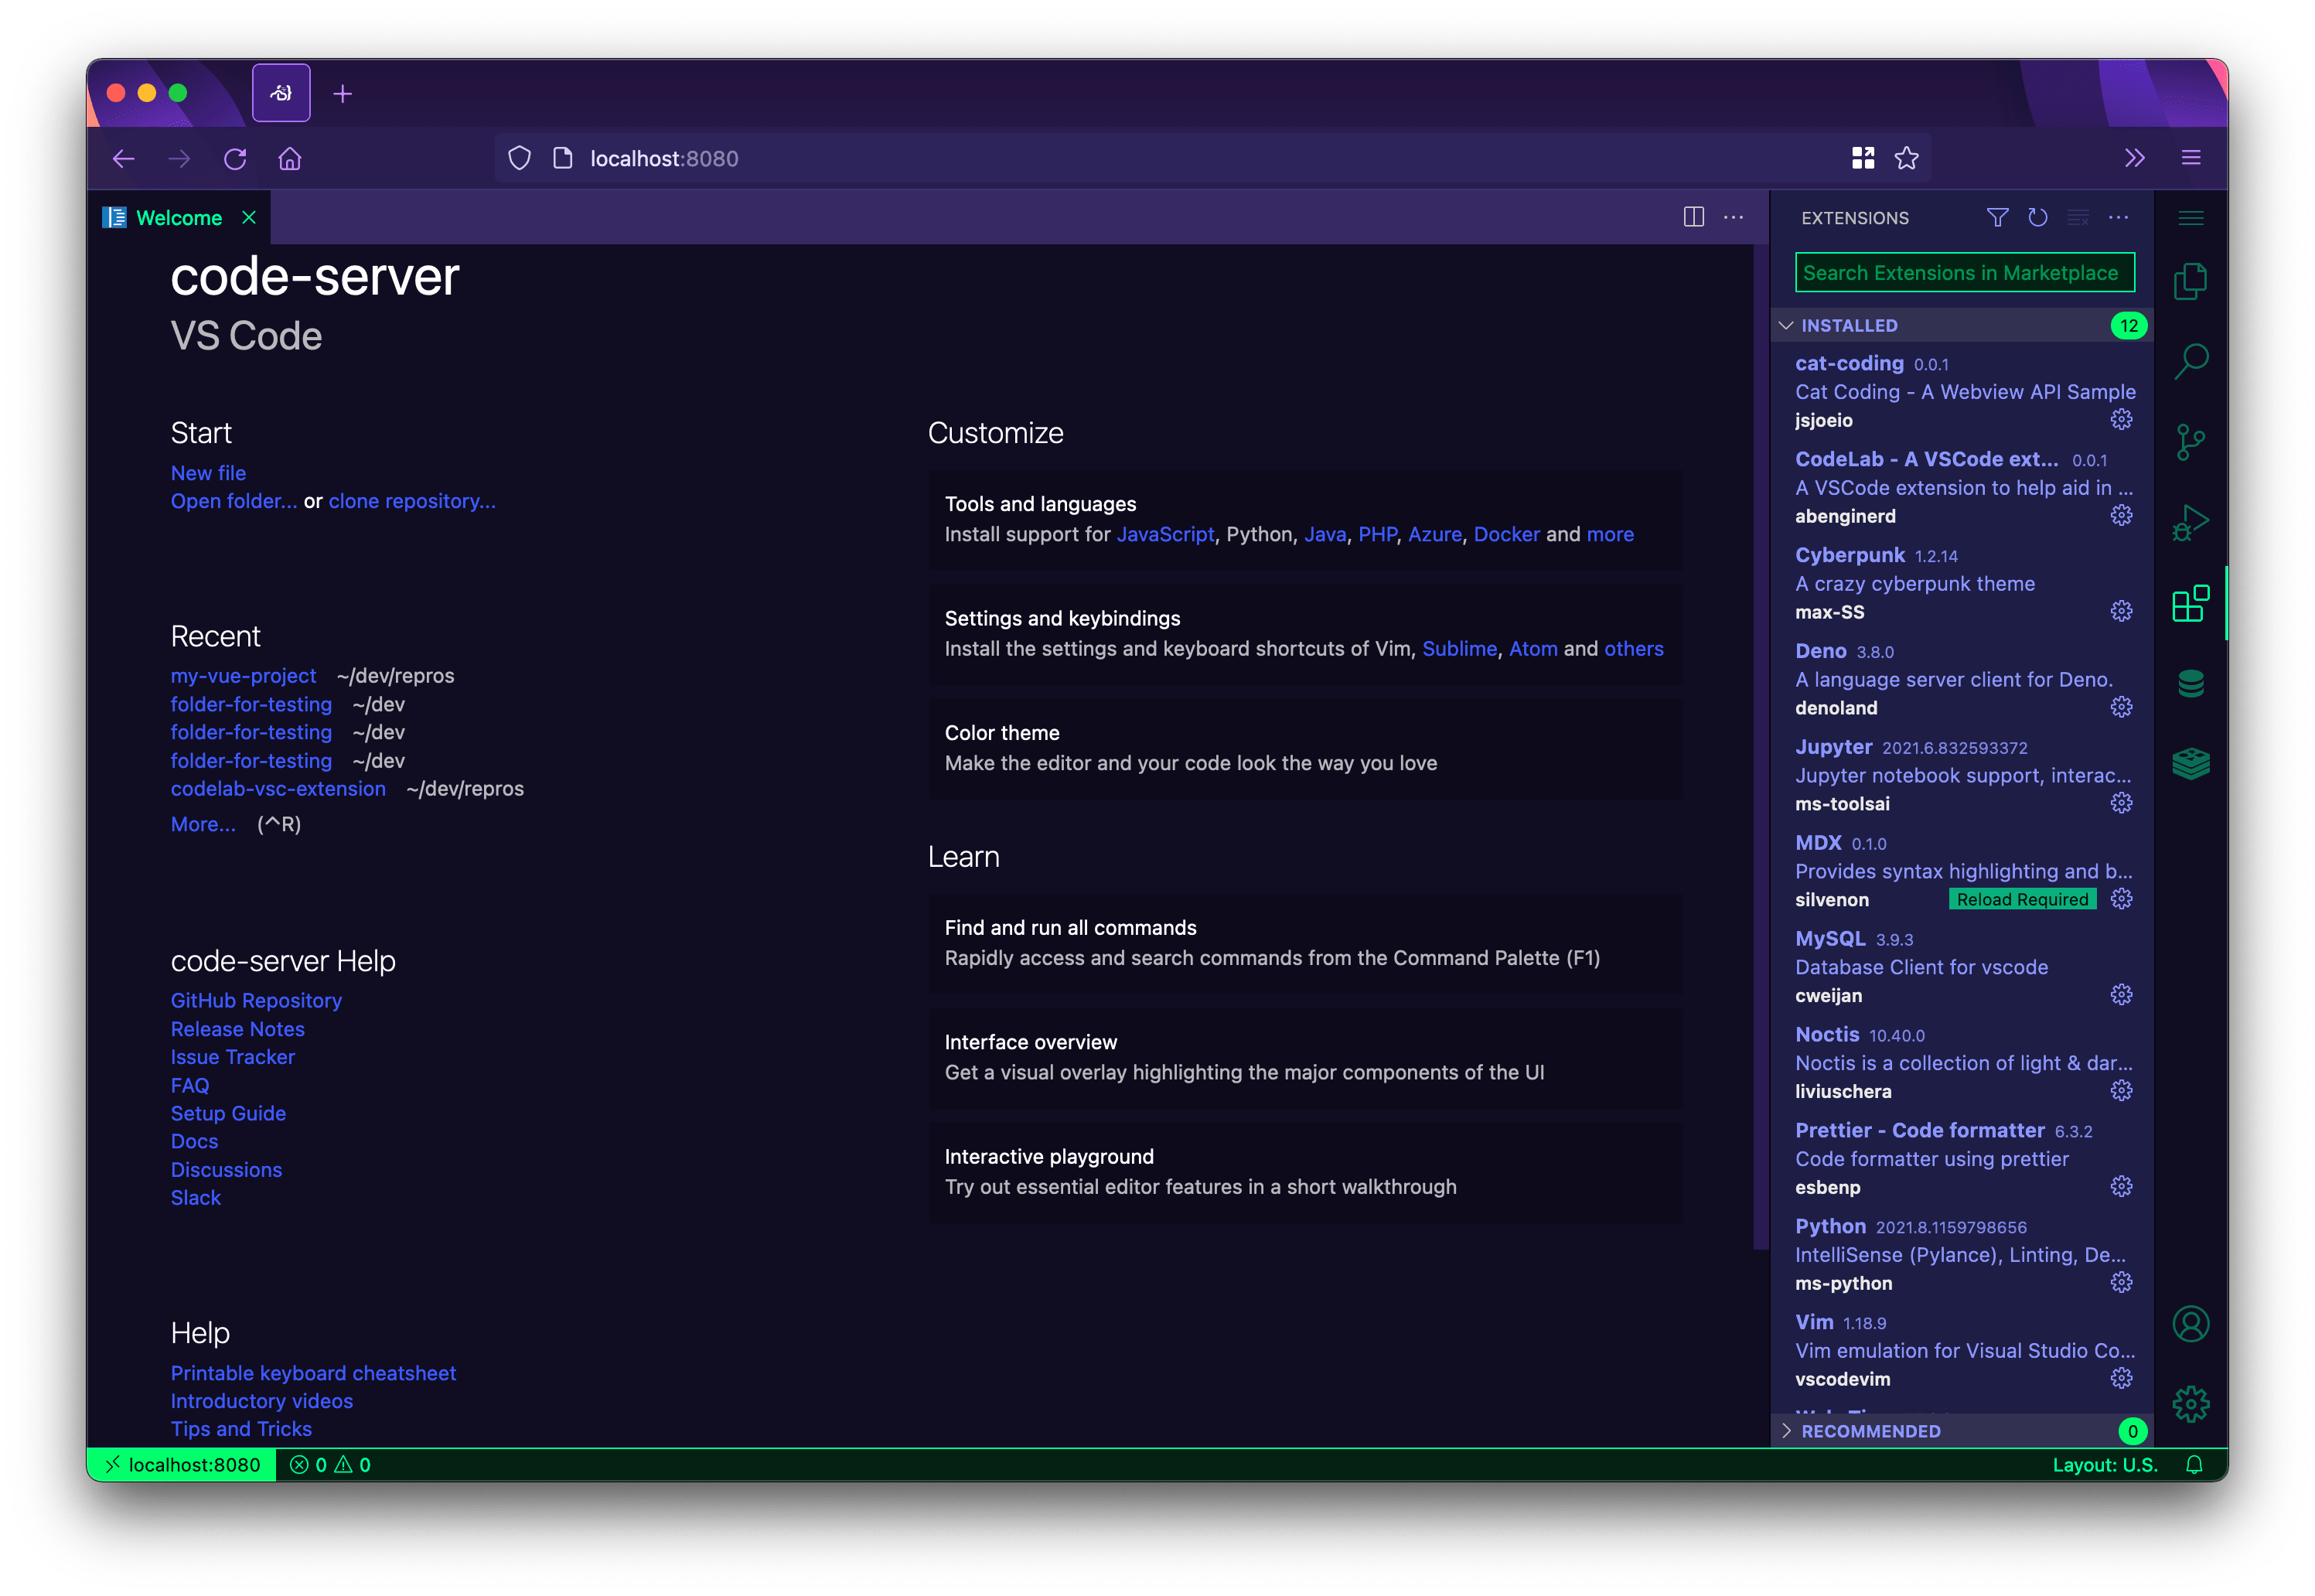
Now you can open http://127.0.0.1:8081 in your web browser. Eventually, you have to allow your browser to open an insecure (non-https site). The login site looks as follows:
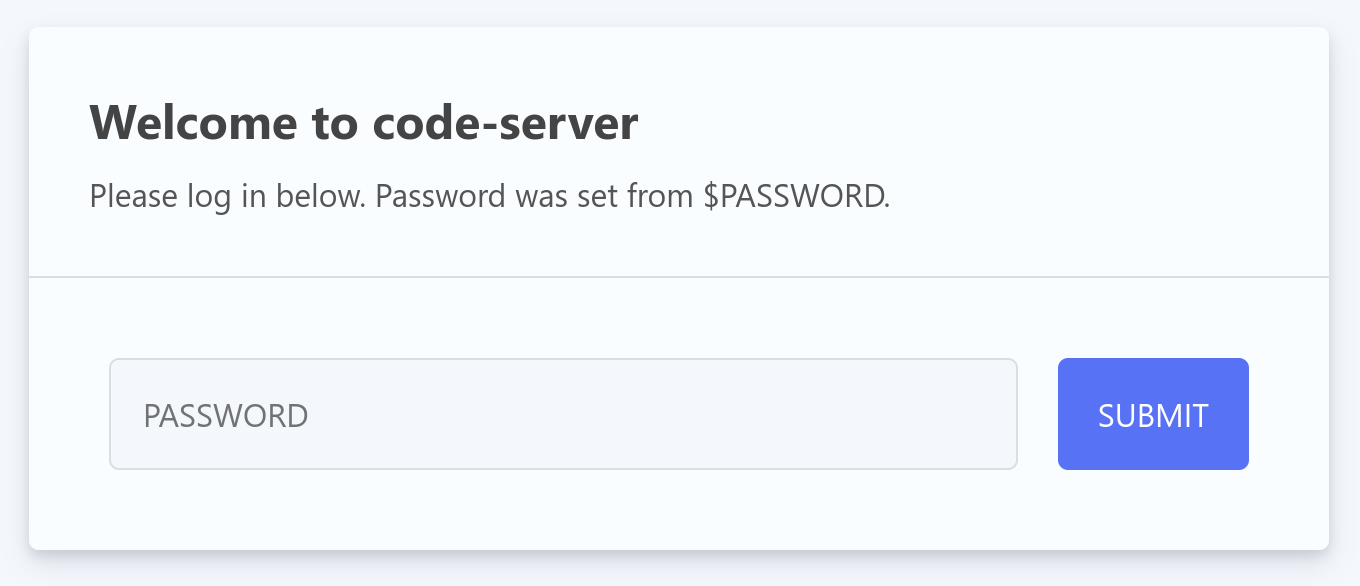
Enter the password from ~/.config/code-server/config.yaml or from the PASSWORD variable. After clicking the "Submit" button, the familiar VS Code interface will open in your browser.
End code-server session
If you want to temporarily log out from your code-server session you can open the "Application Menu" in the left side bar and click on "Log out". To terminate the code-server session, you have to cancel it in the interactive Slurm job by pressing Ctrl+C.